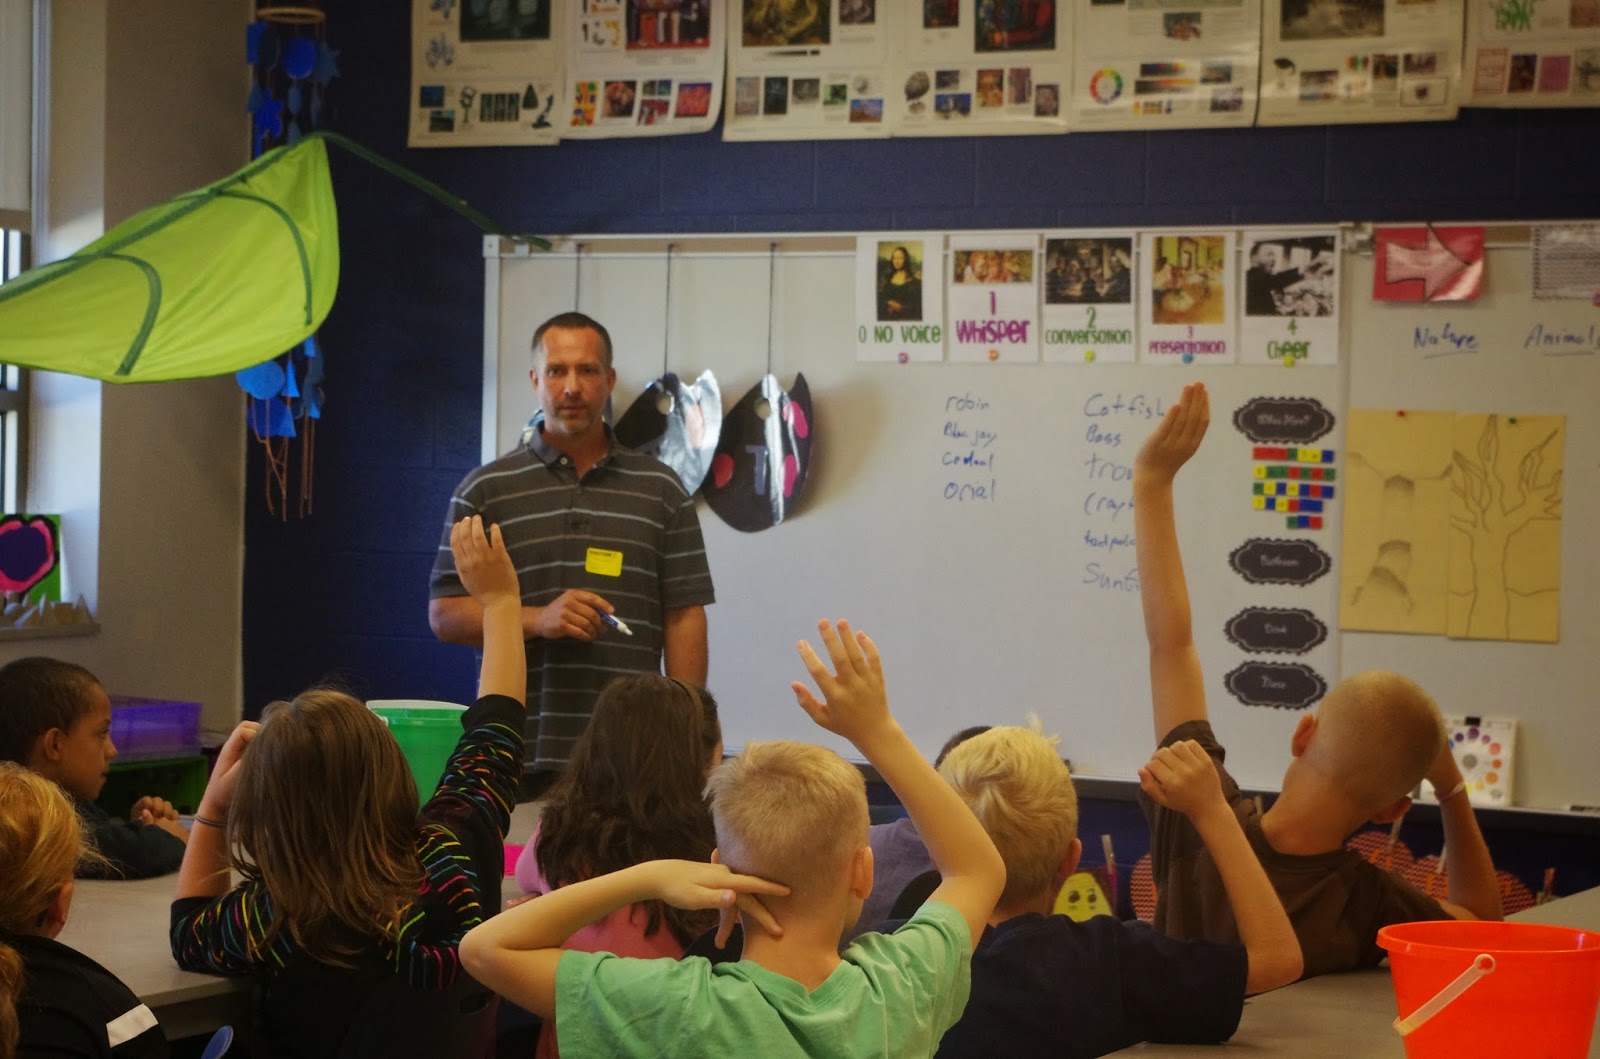
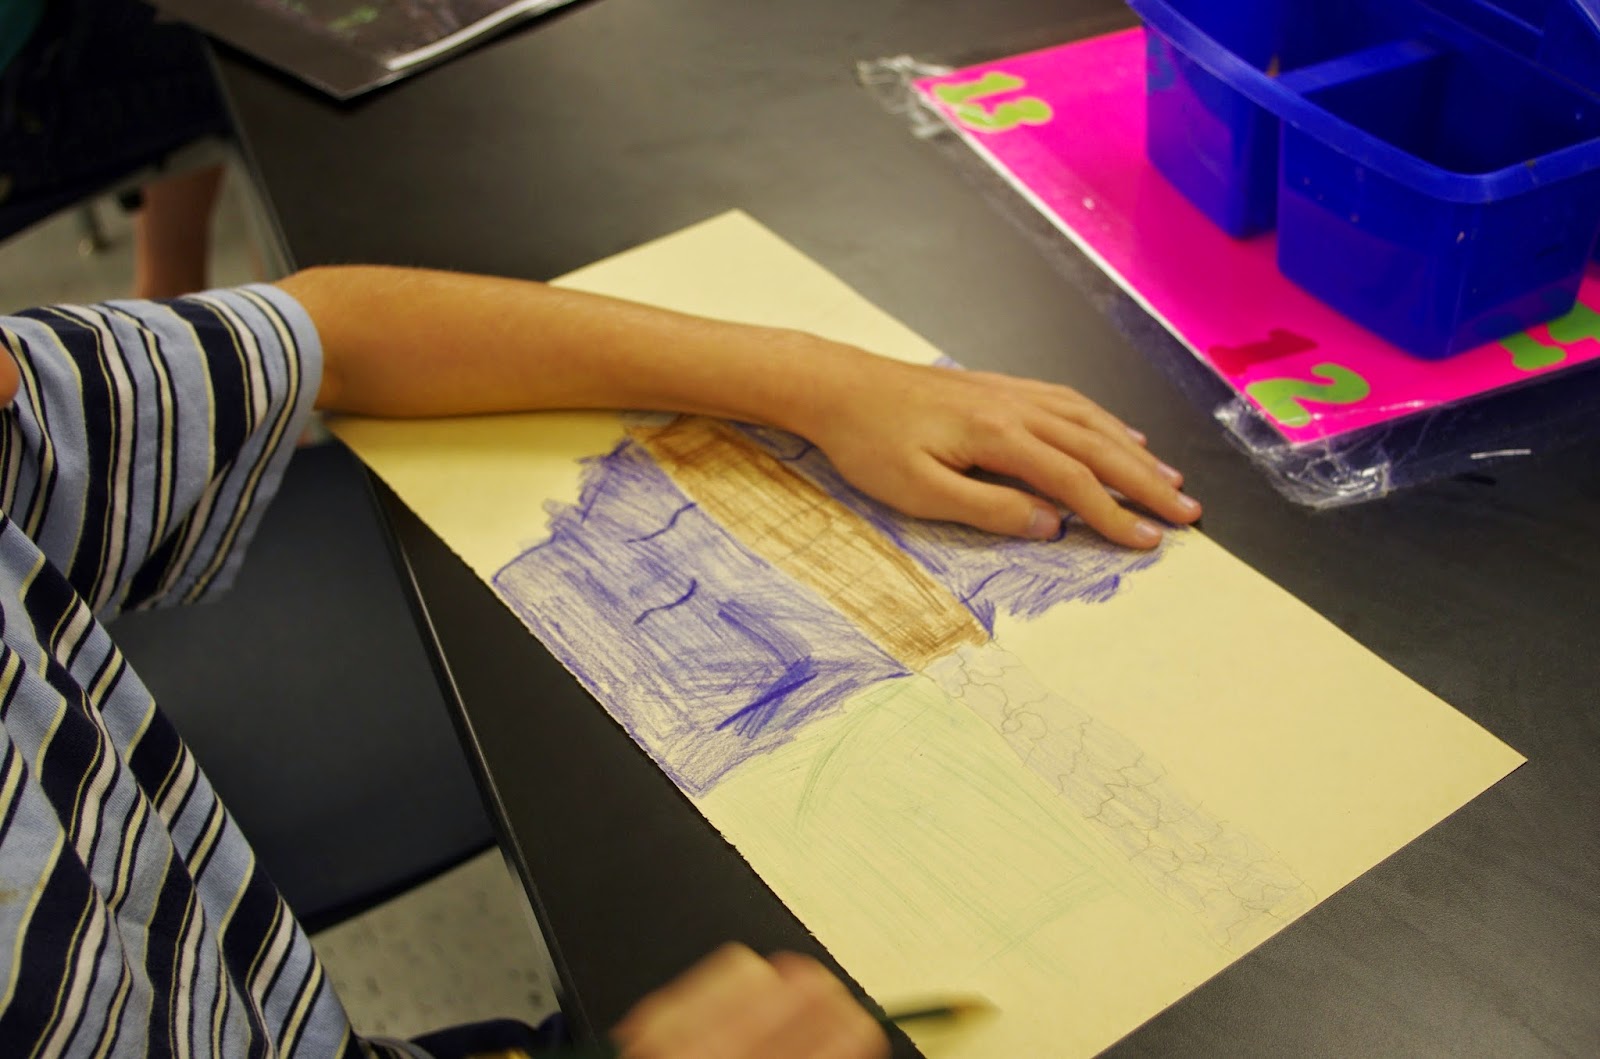
Enjoy the pictures below!
Friday, November 21, 2014
3rd Grade Pumpkins
Third grade students have been learning about and reviewing foreground, middle ground, and background. Third grade students also learned how to create two point perspective after studying Gustave Calliebotte's Rainy Day, Paris Street. Students discussed how texture and color changes as objects become further and further away from the foreground and closer to the vanishing points. Finally students reviewed and practiced using chalk pastels along with different blending techniques.
Tuesday, November 18, 2014
6th Grade Charles Demuth Still Life Watercolor
Sixth grade students have been learning about Lancaster native artist, Charles Demuth, and his artwork, specifically Demuth's watercolor still life paintings. Students were required to first complete a blind contour drawing of a section of a large floral still life I set up in the center of the art room. Once students practiced drawing what they saw in front of them, by completing the blind contour drawing, students utilized viewfinders in order to find a composition for their still life painting.
Students really enjoyed the opportunity to feel like a "real" artist while utilizing the drawing boards to work where they felt best, as well as using the viewfinders and using their pencils to figure out angles throughout the still life.
Here are some of the beautiful results. Way to go sixth grade!
Thursday, October 2, 2014
5th Grade Radial Symmetry Designs
I wanted to update this post with pictures of some of the finished products/ works in progress! Enjoy the pictures!
Students in fifth grade are beginning to learn about radial symmetry, balance, as well as reviewing our color families, specifically complimentary colors. Students first learned about mandalas. The word mandala originates from the Indian language of Sanskrit. Mandala can can translated to mean circle, which is what mandalas are-circular and beautiful pieces of artwork.
Students learn how to create a a design on one part of the mandala, and then how to transfer the design by "rubbing" the lead from the pencils onto the next part of the mandala. Students watched this video http://wn.com/radial_symmetry before I did a demonstration on folding the mandala paper into even parts, as well as creating a design. I think as much repetition and as much repetition in different forms (video verse live) is great for the students.
Once students have their paper folded and ready to begin creating their radial symmetry mandala designs students can choose what to incorporate into their radial symmetry design. Students may use their names and/or create an abstract design of shapes and lines. Students want to make sure not to create too many small details. Small details do not transfer as well as larger images do.
Below you will find examples of mandalas which I also showed to my students. I will be sure to post pictures of our final mandala results.
Tuesday, September 23, 2014
Kevin Lehman's First Visit to DIS
Today was a very exciting day in art class for the students at DIS. Kevin Lehman, our Artist in Residence was with us in school! Kevin Lehman is a very well known local artist who has a lot of knowledge and expertise to share with our students, especially for such a large scale mosaic project.
The students had a lot of questions for Mr. Lehman, but the students were also working hard to take 900+ designs and create one final design to use for the mosaic.
Mr. Lehman first had all of the students' sketches spread out on the tables. Then, Mr. Lehman had the students come up with different categories for the different sketches such as "landscape", "activities", and man-made objects to name a few categories the students were able to come up with.
From the different groups the students came up with even more specific items such as specific trees, specific flowers, and specific animals to include in the final mosaic design. The students will be conducting some research before we move ahead. The students' research will be on finding out about even more specific animals, historic buildings, and plants in order to make sure our mosaic is illustrating our specific area and environment.
Enjoy the pictures below from today's events!
The students really enjoyed working with Mr. Lehman!!
Brainstorming with Mr. Lehman-more specific objects to be put in our mosaic
Some of the student sketches before they were organized into categories
Monday, September 15, 2014
More Mosaic Sketches...Enjoy!
Students have been doing a great job illustrating Riverfront Park and their town of Marietta. Enjoy the pictures of student sketches below!
Friday, September 12, 2014
Sketches of Riverfront Park Mosaic
All of our DIS students have been hard at work designing our Riverfront Park Mosaic. Students learned about the history of our historic town (Marietta), the Susquehanna River, and the Riverfront Park.
Below are pictures from our work the past couple of days.
We discussed using interesting perspectives, including atmospheric perspective, objects becoming smaller as they move further back into the background, as well as how to draw realistic people, trees, and streams of water.
Enjoy the pictures below!
Wednesday, September 10, 2014
Third Week Update
I can't believe we are moving in to the third week of school! Time flies when you are having fun! We are very busy creating our thumbnail sketches (the students learned how to create small thumbnail sketches) as well as our final designs for the large Riverfront Park mosaic project. I will post pictures of some of the final designs when students finish them up in approximately a week. We are getting excited for our Artist in Residence who is coming soon to help us with the mosaic project!
In the meantime I decided to share some pictures of the art rooms at DIS as well as some of the bulletin boards I have created at the beginning of the year. I hope you enjoy the pictures, some of the bulletin boards were from Pinterest- awesome place to look for such things as bulletin boards.
In the meantime I decided to share some pictures of the art rooms at DIS as well as some of the bulletin boards I have created at the beginning of the year. I hope you enjoy the pictures, some of the bulletin boards were from Pinterest- awesome place to look for such things as bulletin boards.
Last year I had my second graders complete drawings of themselves in third grade. I their third grade self portraits hanging up for students to see on the first day of school.
This bulletin board idea was a Pinterest find. I put my own twist on it, and the parents and students love the color as well as the saying, "Paint you own future"
"Show me the Mona" is what I say when I need the students' attention for clean-up, when I need to give a set of directions, or when I need to give corrections. Another art teacher in the district knew I used "Show me the Mona" and created this sign and I love it!
On the first day of art class we found our art seats, went over rules and expectations, and then we were able to play with various art supplies to create, "The world is your canvas". Students practiced masking techniques, collage techniques, as well as practiced working together as a team.
A picture of most of the third and fourth grade art room.
A close-up of my "Be Yourself" sign. I also covered styrofoam board I found with fabric and then hung the fabric covered styrofoam on the wall with command strip to give the wall some color. :)
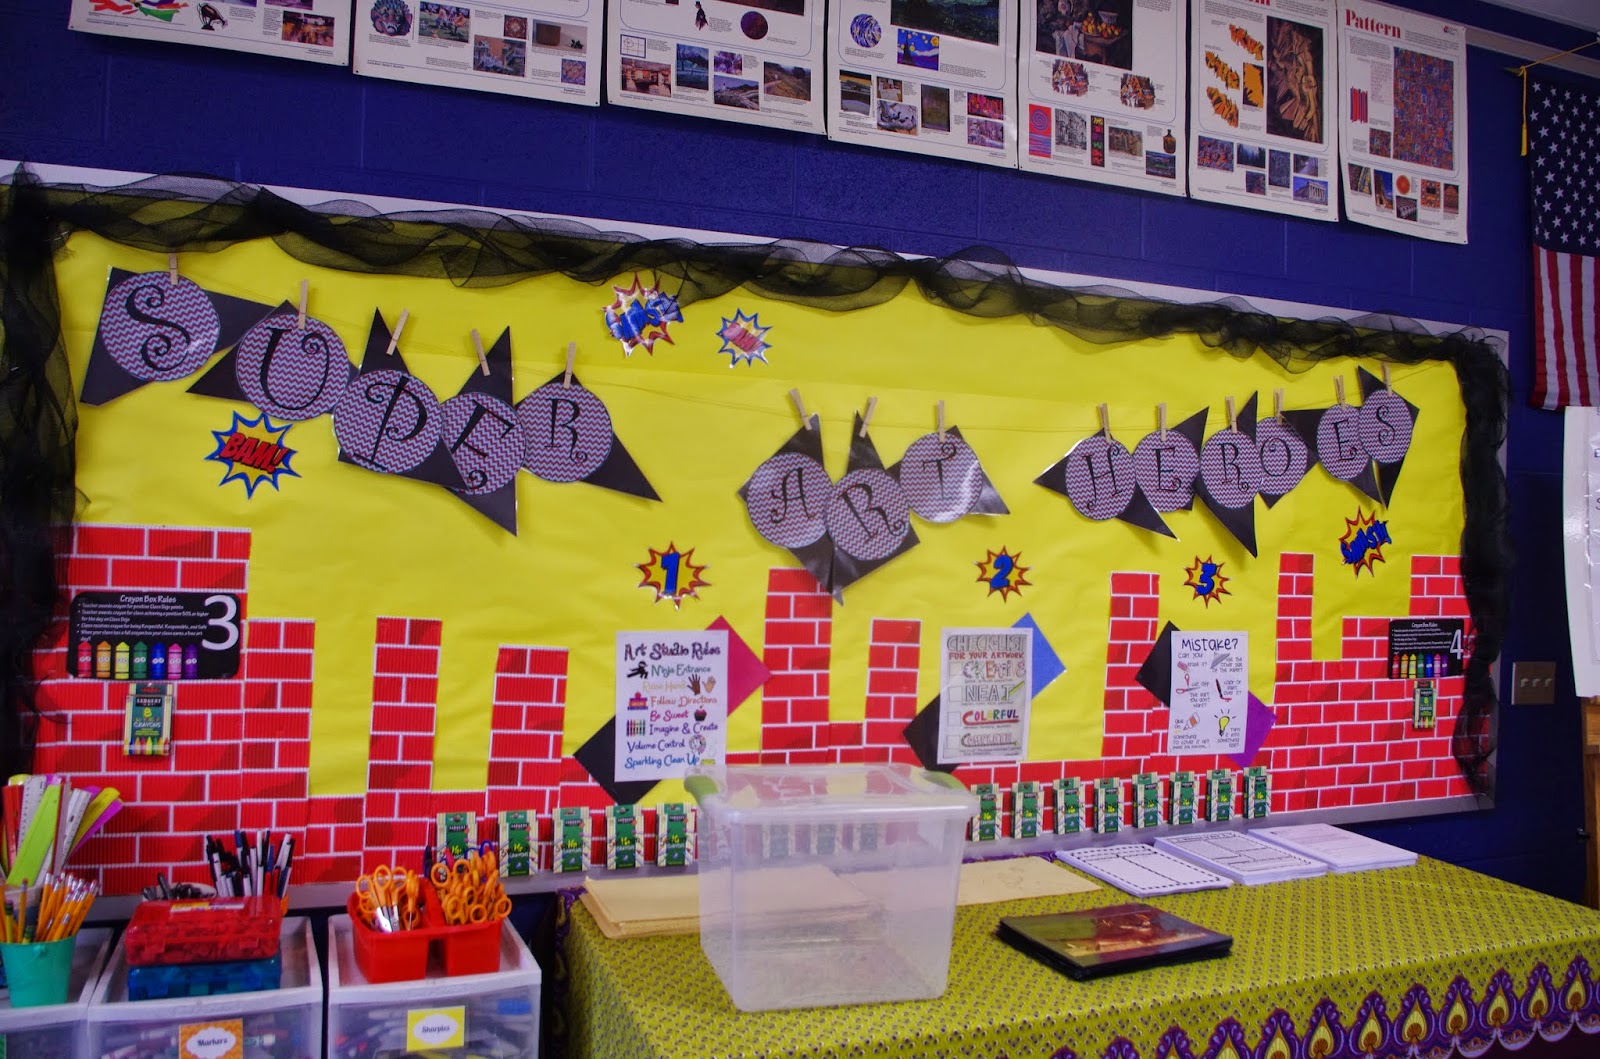
This is the third and fourth grade "Super Art Heroes" bulletin board. On the bottom of the bulletin board you will notice there are several crayon boxes. Each class has a crayon box. The students earn crayons by showing me respectful, responsible, and safe behaviors. The students have a goal of sixteen crayons-which fills up the crayon box. When the crayon box is filled the students receive a free art day!
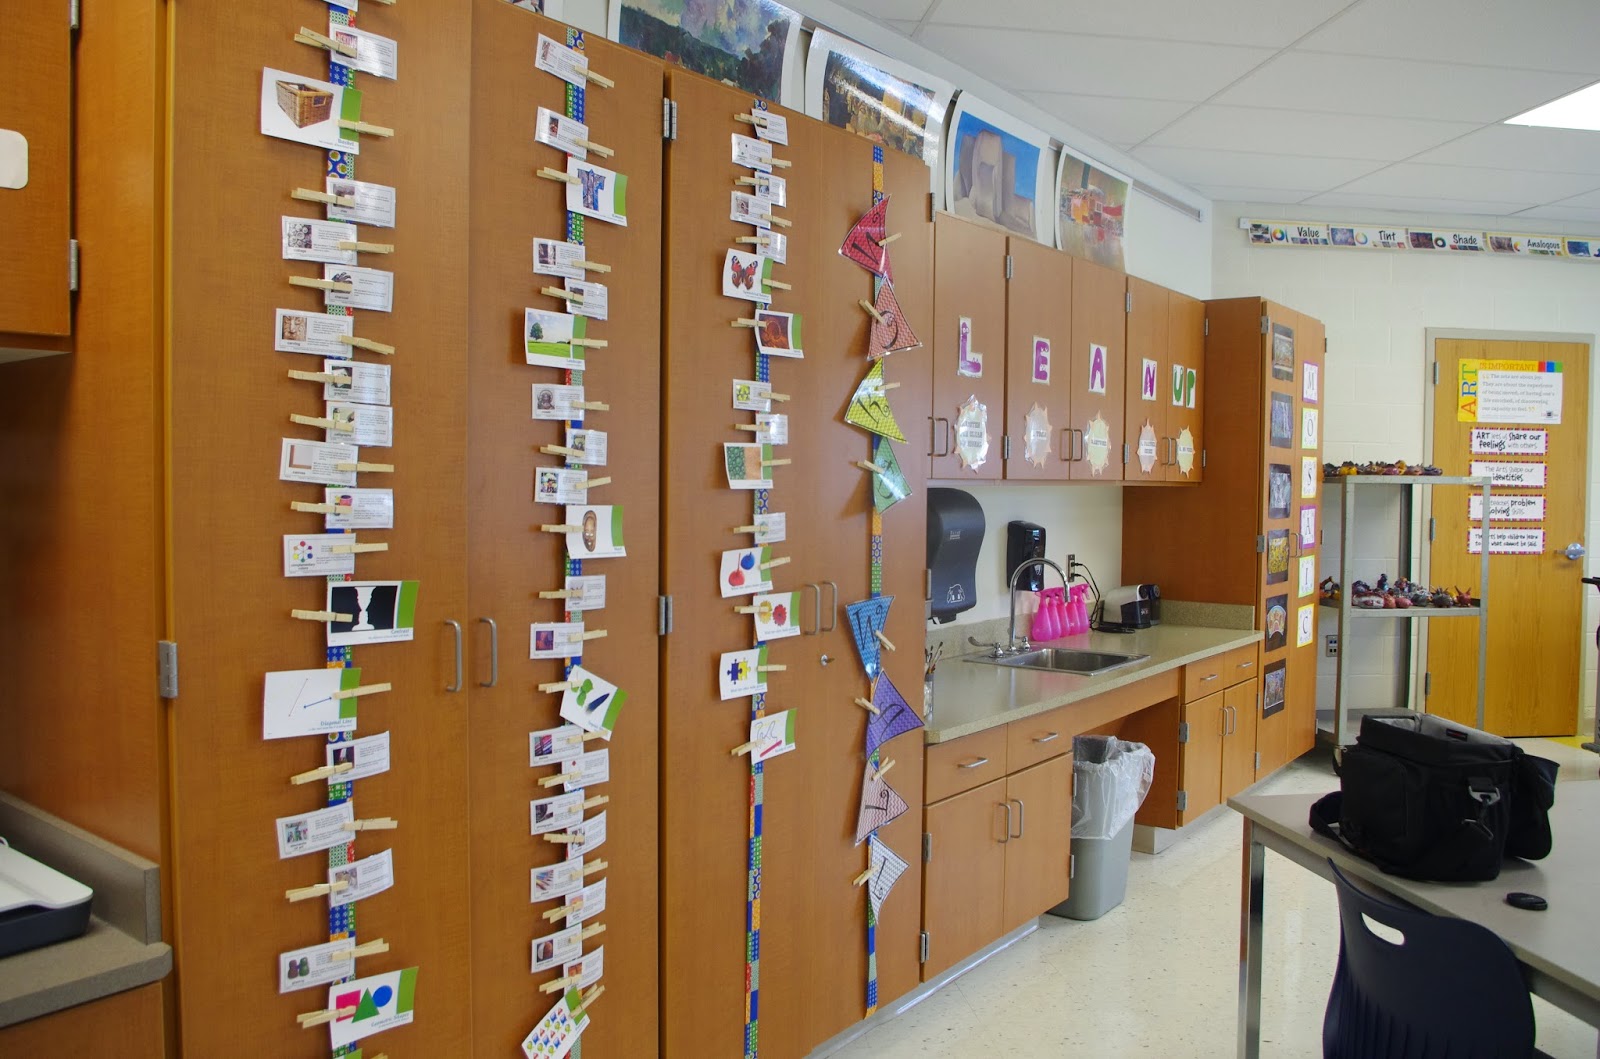
The second part of the third and fourth grade art room. The word wall is hanging on my cabinets.
A picture of part of the fifth and sixth grade art room.
More of the fifth and sixth grade art room. On the board there are art easels which spell our art. If the students are too loud the A is taken away and on the back of the easel it states "warning". If the students have another letter taken away-the r- on the back of the r it says five minutes of silence. If the last letter is taken away-the t- students have the rest of the class in silence. This was also a Pinterest find!
My Elements and Principles bulletin board int the fifth and sixth grade art room.
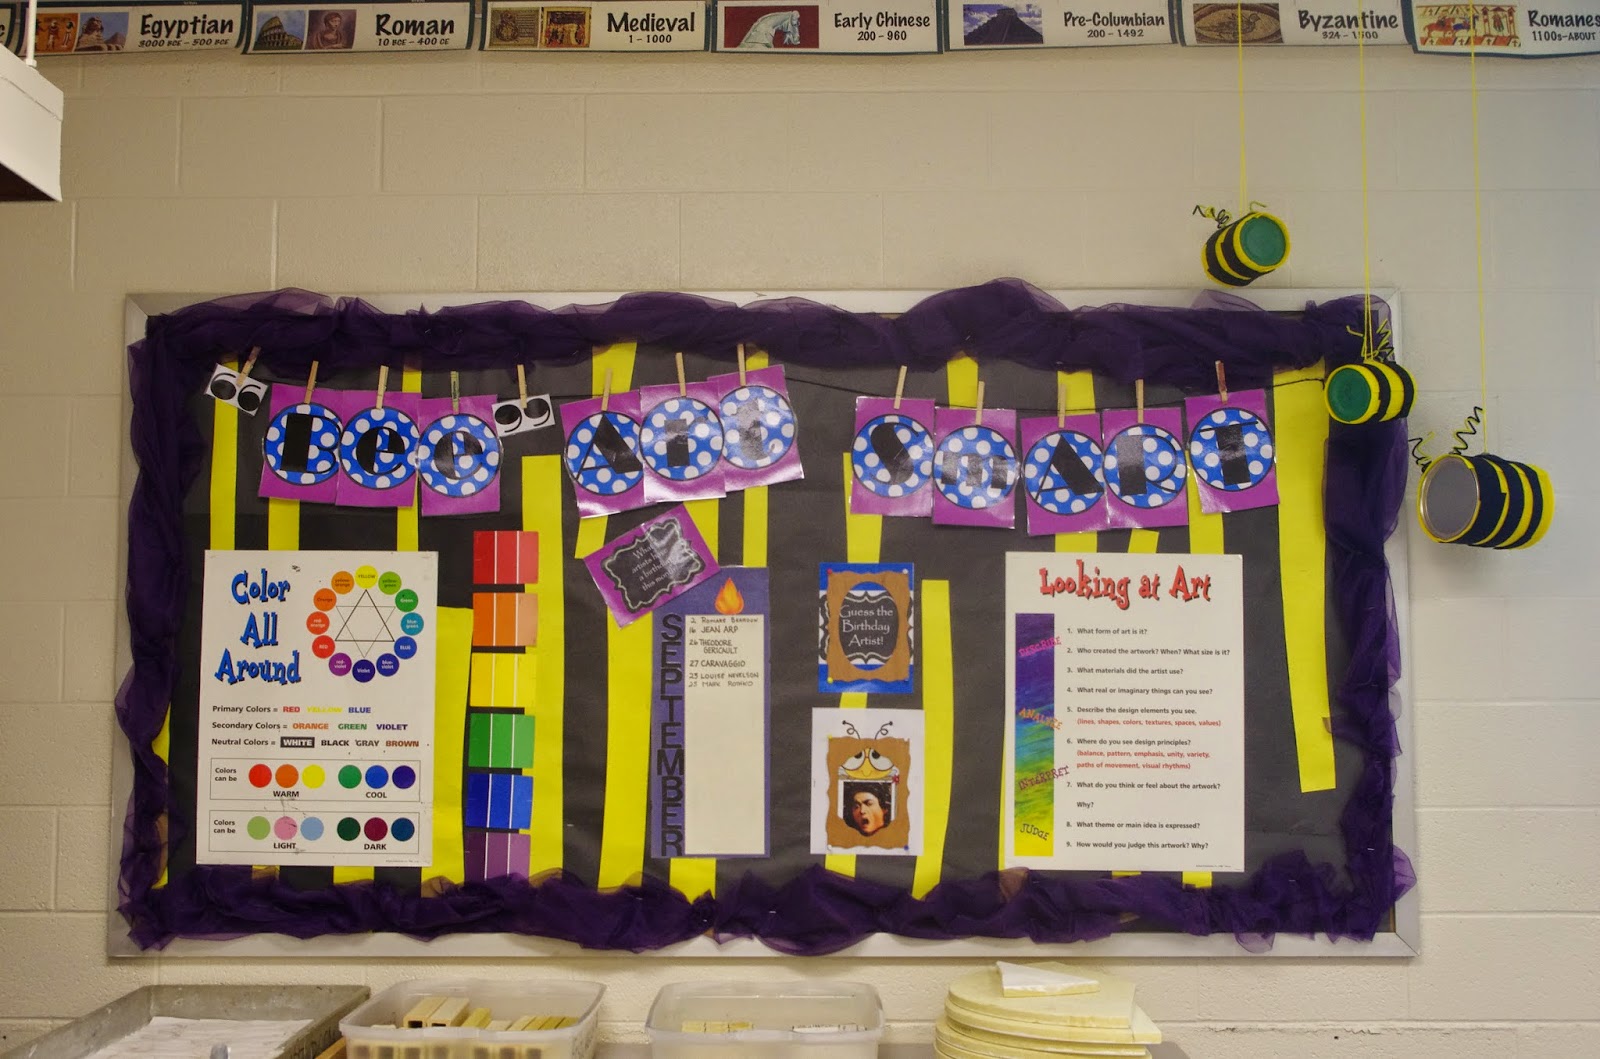
"Bee Art Smart"
The rest of the fifth and sixth grader art room.
My supply closest in the fifth and sixth grade classrooms were designed to not have doors, but I really wanted something which "blocked" the students from go into the supply closets due to safety, so I decided to buy the curtains you see in the picture above.
This bulletin board hangs between the music room and my fifth and sixth grade art room. :)
Thanks for visiting my page! Leave a comment if you are wondering about any of the pictures above.
Subscribe to:
Comments (Atom)


